Design & Concept
Media Wall Design, Resolved Before We Build
Layout, proportions, shelving, materials and lighting all agreed with you before a single cut is made. The design stage is where a media wall is actually won or lost.
Layout, proportions, shelving, materials and lighting all agreed with you before a single cut is made. The design stage is where a media wall is actually won or lost.
The expensive mistakes in a media wall are all design mistakes: a screen mounted too high because nobody checked the seating position, shelving at a depth that fits nothing anyone owns, a finish that looked right on a phone screen and wrong in a north-facing Cumbrian living room in February.
So the design comes first and gets agreed properly. Proportions set against your ceiling height and where you actually sit. Shelf depths checked against what is going on them. Lighting positioned to wash the wall rather than glare off the screen. Samples seen in your own room, in your own light, at the time of day you will use it.
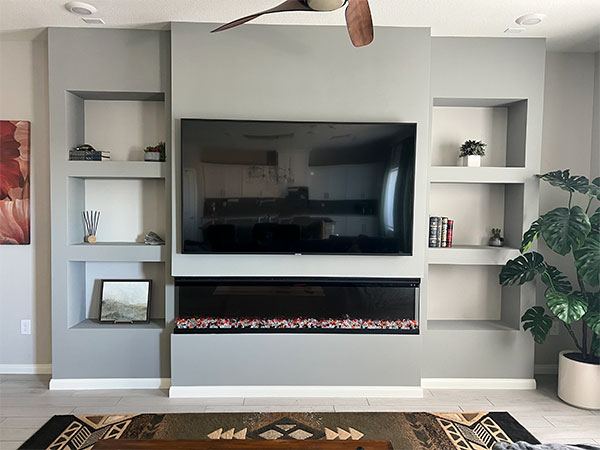
Yes, always. Nothing is ordered or cut until you have seen and agreed the layout — proportions, screen and fire positions, shelving, materials and finish. The design stage is exactly where changes are cheap, so it is the right time to be fussy.
Micro-cement, venetian plaster, fluted and slatted timber, painted MDF, oak veneer and stone-effect, plus combinations. We bring physical samples to the house because material choices go wrong more often from screen colour than from anything else — a warm oak that looked perfect online can read orange under Cumbrian daylight.
It is less about the wall and more about the seating distance — a screen that dominates a small room is the single most common regret. The other half of it is height: mounted too high and you will feel it in your neck within a week. We set the centre line from where you actually sit, which usually means lower than people expect.
Yes, and it is worth doing. Consoles, routers, sound equipment and the cable spaghetti all need somewhere to live with ventilation and access. That gets designed in from the start — vented compartments, cable routes, and a way back in later when something needs replacing.
Concealed LED wall-wash behind the screen or under shelving is the usual choice, on a dimmer and a separate circuit from the room lighting. The thing to avoid is any light source that reflects off the screen, which rules out most downlights directly in front. Colour temperature matters too — we would normally suggest warm white in a Lakeland stone room and something cooler in a modern build.
Get in touch for a free, no-obligation consultation. We will look at the room, talk through options and show you materials in your own light.